 DIY Fabric Hair Flower Clips Making a Hair DecorationSo, you want something cute, trendy, and unique to wear in your hair other thn a ribbon hair bow. (Also, what else are you going to do with that HUGE stash of buttons and fabric scraps) These easy to make fabric hair flower clips are a great beginner's craft or even a fun craft for kid's to do. You can make them in all colors depending on what fabrics you have. You can make a Halloween hair clip or a Christmas hairclip, it's only limited by the fabric scraps you have on hand. So grab some of your favorite fabric scraps that you've been saving (hoarding, but who's judging?) and let's get started. You know the ones I'm talking about, the scraps you couldn't bear to part with because you just knew that someday you could do something with them! Supplies You Need For Hair Clips
Drawing and Cutting The PatternFirst you will trace out onto a sheet of paper some basic flower shapes. It really doesn't have to be fancy and this is much easier than you think, even if you think you are not crafty you CAN DO THIS!!! You will need a small flower shape, medium flower shape, a large flower shape and an extra large flower shape. The actual dimensions will depend on you and whether you are using it for a baby, a clothing pin, etc. Experiment with the sizes on paper until you are happy with them, then you will cut them out and they will now be used as your pattern for cutting out the actual fabric. If you haven't ironed your fabric already press your pieces now. I love using my tabletop ironing board and mini iron because the whole set up just takes far less space and is easier to set up and put away. Putting Your Flower Hair Clips TogetherCut out your completed paper patterns. Now select what fabric scraps you are going to use and starch them heavily with spray starch and iron them. You don't want to skimp on the starch because you want them to be stiff instead of floppy. Pin the pattern on to your fabrics and start cutting out each flower carefully. Once all your pieces are cut out start laying each flower out starting with the largest on the bottom and ending with the smallest on top. Lay them randomly so that the flowers don't all match up and that you can see the rounded edges of each flower behind the other one as you see in the photo. Just experiment until YOU like it! Once you are satisfied with how you have your little flowers then pin it so you don't lose your position. 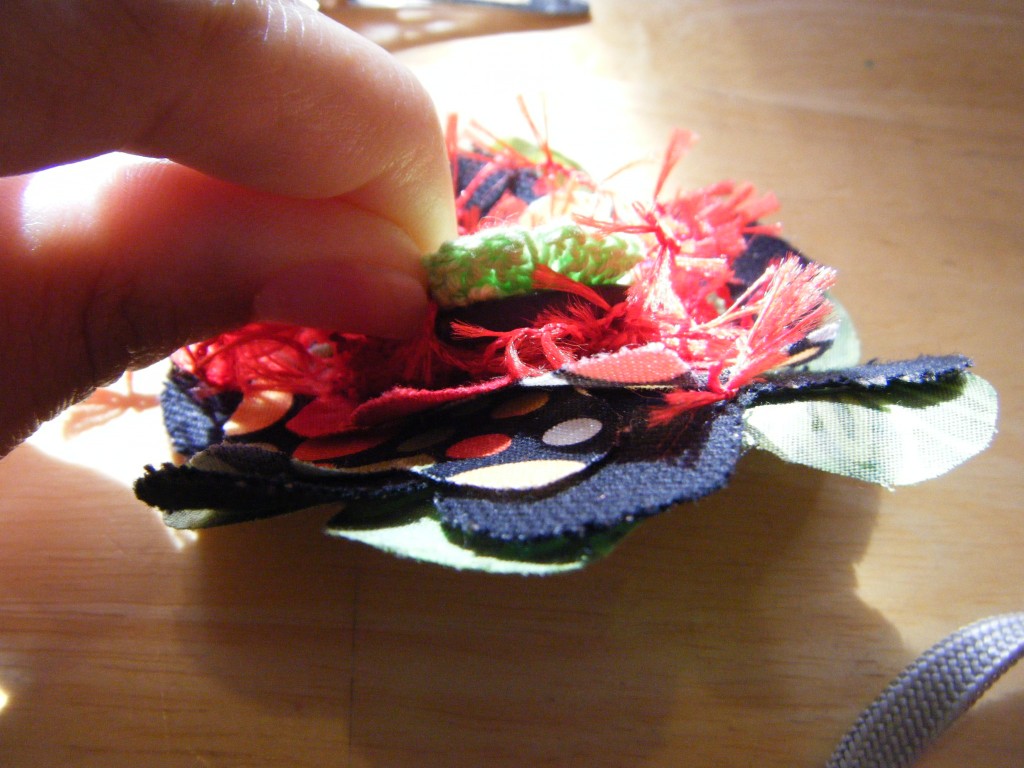 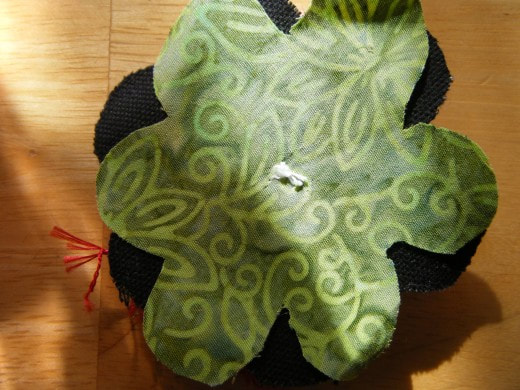 Now it's time to find a little button that looks really cool and makes your fabrics just "POP". Thread your needle, put your button on top and sew that button on. You'll want to securely sew the button on because this is what is going to hold all those layers together. Be sure to tie it off securely at the underside of the fabrics. If you are using your fabulous new Fabric Flower for embellishment then you are done, but if you are making a hair clip then grab some old cloths or old newspapers to protect your work surface from getting all "gluey". Glue The Clip On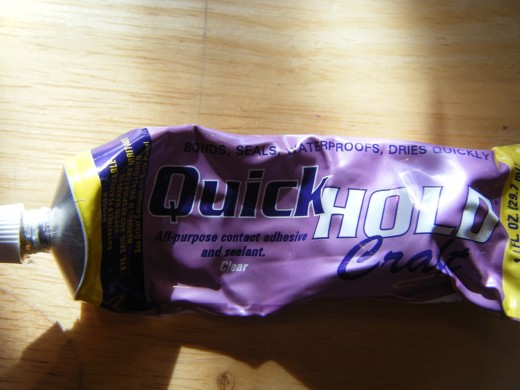 Now it's time to whip out your heavy duty craft of fabric glue. (You might want to open a window, I don't want you passing out from the fumes before you've finished your great new project.) Smear some glue generously onto the bottom side of your fabric flower in the middle, about the length of the hairclip you will be using. Next smear some glue onto the top side of your hair clip, not the bottom part. The flat bottom part of the alligator clip goes against your head so don't put glue on that part. Now place your hair clip smack dab in the middle underside of your little fabric creation and press it firmly down, holding it in place for a few seconds and pressing all along the length of it to make sure all areas have good adhesion to the clip. I like to use a REALLY tacky, sticky glue like Quick hold craft. If you have any extra glue seepage just wipe it away with a damp cloth. 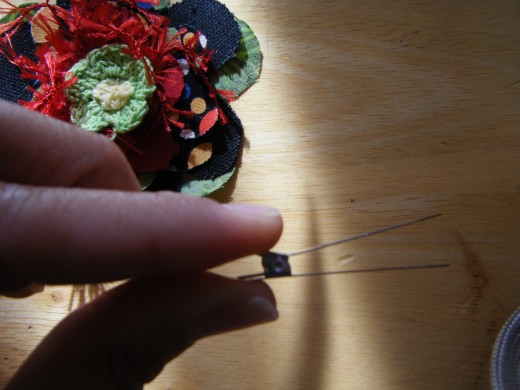 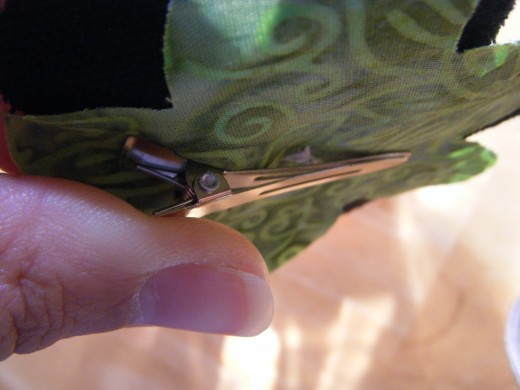 Let your clip dry COMPLETELY. I would suggest you let it dry overnight before sticking it in your hair, unless you are looking for a permanent hair embellishment and I'll bet you're not so give it ample time to dry. Congratulations, You did It!Well now you've accomplished that and you'll be ever so popular with all your daughter's friends because of all the cute little creations that you'll be making for everyone. You can even get really enterprising and sell them at your local craft fair! Have fun!
0 Comments
Your comment will be posted after it is approved.
Leave a Reply. |
Angie HerbertsonSewing Hints, Tips, and Free Patterns ArchivesCategories
*Disclosure: I only recommend products I would use or have used myself and all opinions expressed here are my own. These posts may contain affiliate links that at no additional cost to you, I may earn a small commission from if your purchase something. Thanks in advance
|
 RSS Feed