|
How Do You Transport a Casserole Dish Safely?
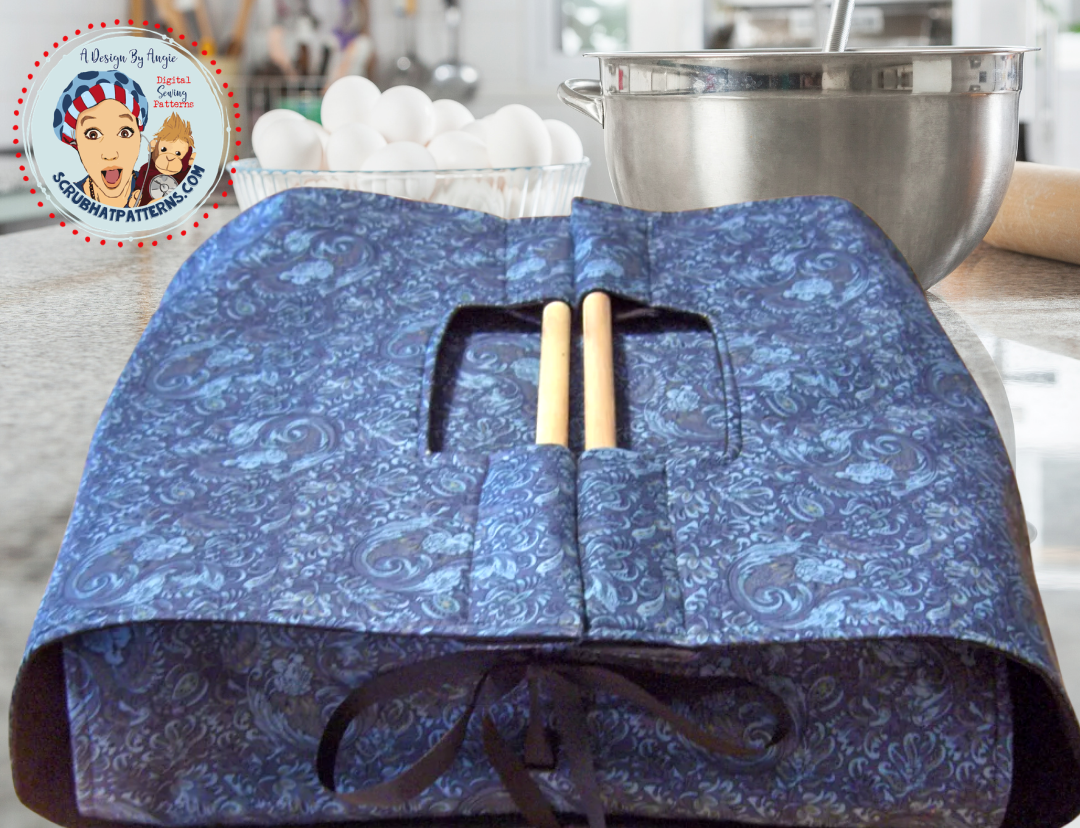
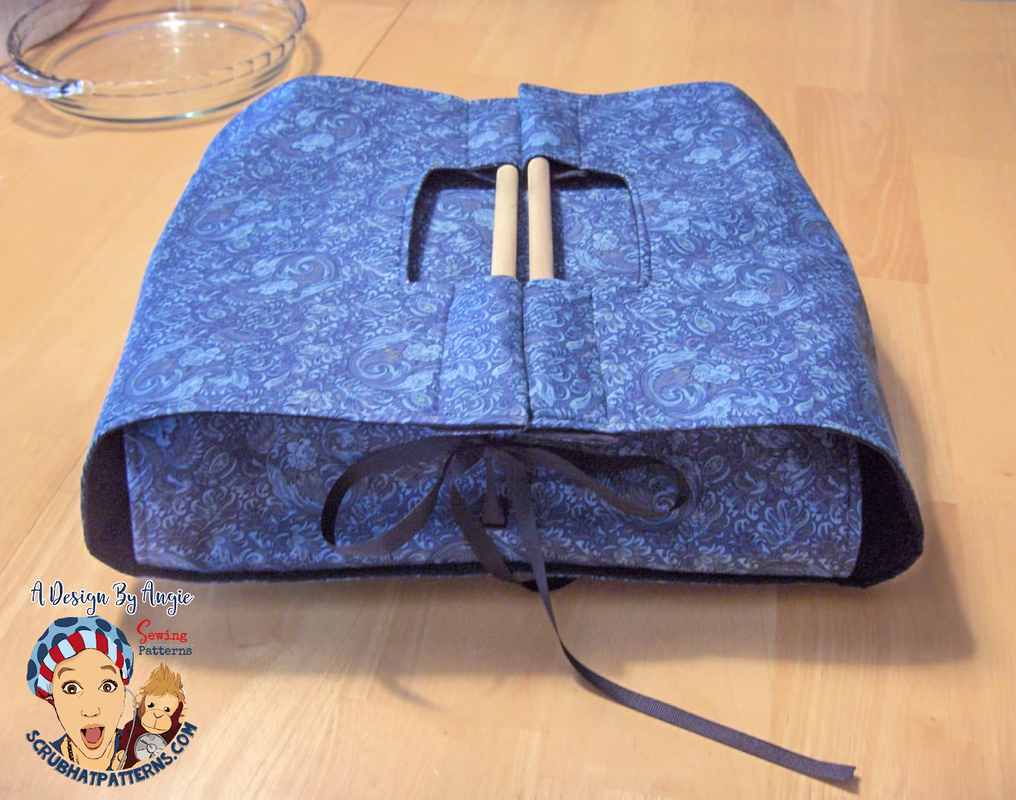
Casserole totes are great for taking your food to potlucks, Thanksgiving dinners, Christmas lunch, family gatherings, or any event where you need to take a covered dish or a casserole. The many wonderful cotton fabrics available allow you to really get creative and stylish with your new casserole cozy. These also make great gifts.
Below, I will explain how to put one together yourself with step-by-step instructions and photos. Happy sewing!
What You'll Need
How to Make a Casserole Carrier With Dowel Handles (Step-by-Step Instructions)
1. Cut 2 pieces of print fabric 14" wide by 41" long. Do the same with the solid fabric and batting.
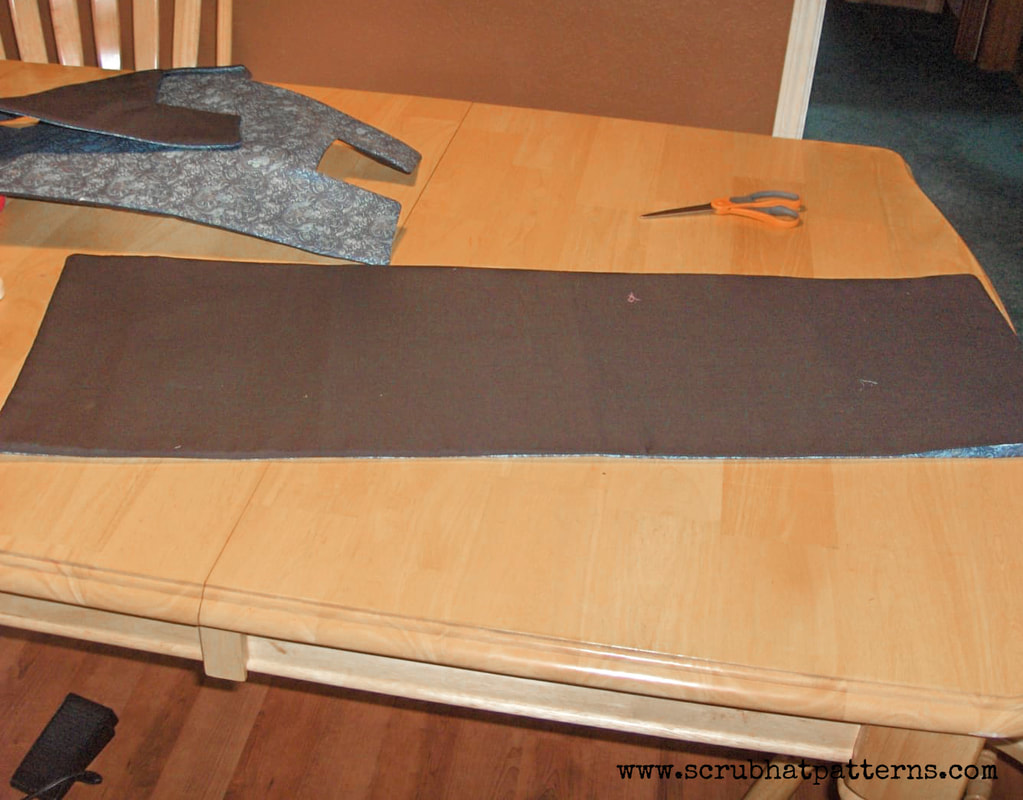
2. Lay one batting piece on the table first. Add one print fabric face-up and then one solid-color fabric face down on top of the printed fabric. Make sure all your edges are even. Carefully pin the layers together so they don't shift while sewing.
3. Repeat this exactly with the other three pieces of fabric. You will now have two stacks pinned together. Are you still with me at this point? Great, so far so good!
Cutting & Measuring For Handle
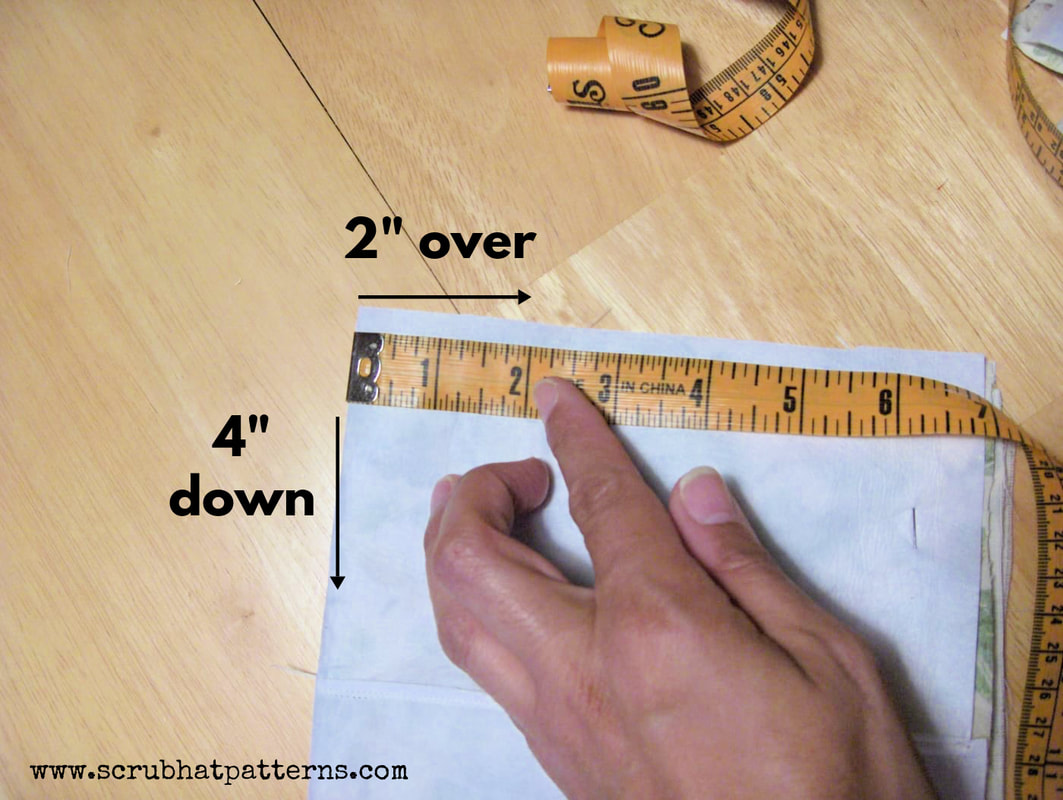
4. Take one of the stacks and fold it in half lengthwise. Then, take your tape measure and, starting from the crease, measure 2" over and 4" down.
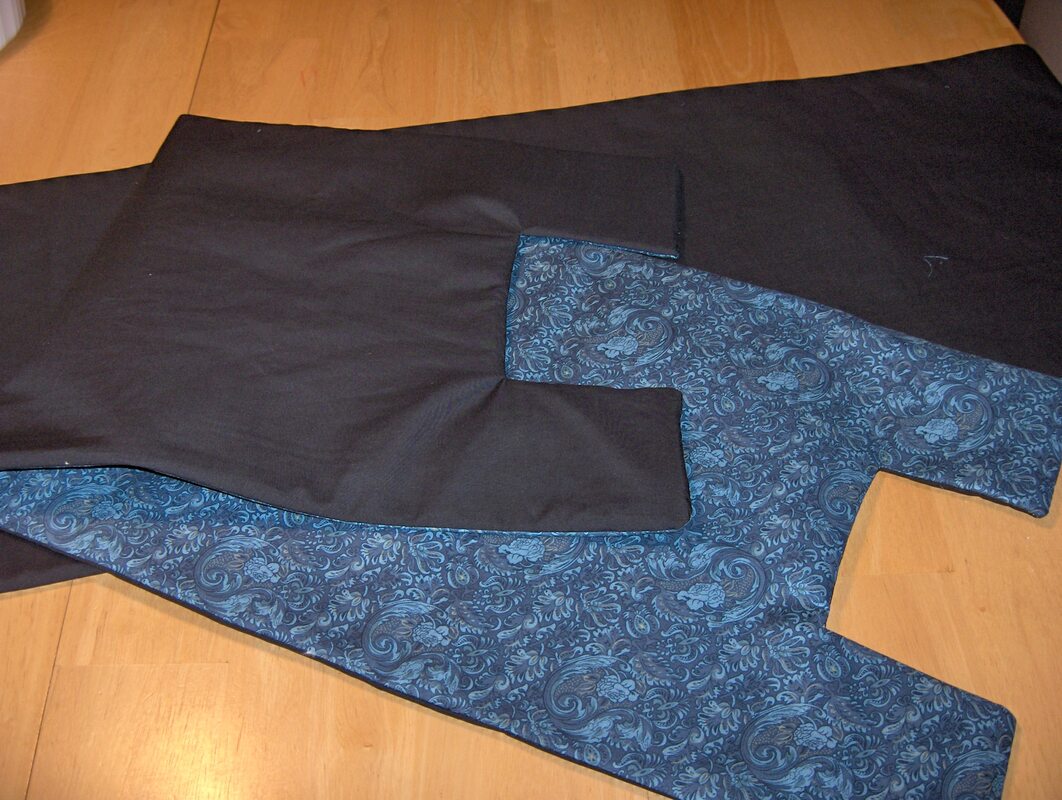
5. Cut that out on the crease, and you will have a 4" square opening where your handles will later be. Be sure you only do this on one of the stacks. The first time I did this, I made a little mistake and did it wrong! 6. Take the stack with the handles, unfold it, and start sewing the three panels together using a ½" seam allowance. Don't worry, we will fold down some of the fabric to make a place for the wooden dowels to slip into later. Sew around, leaving a 4-5" opening on one side of the panels so you can turn the fabric inside out. 7. Before turning the fabric inside out, clip the inside corners of the handles so the fabric won’t bunch up when turned inside out. Now turn your fabric inside out (don’t forget to take out all your pins first!)
8. Top stitch around the casserole carrier. This will be the part of your casserole carrier with the handles. The other stack of fabric will be your bottom base of your casserole tote.
9. Repeat the same steps to the remaining stack of fabric (besides the step of cutting the handle out). Once you're done, you should have two stacks of fabric sewn together, turned right side out, and top stitched all the way around.
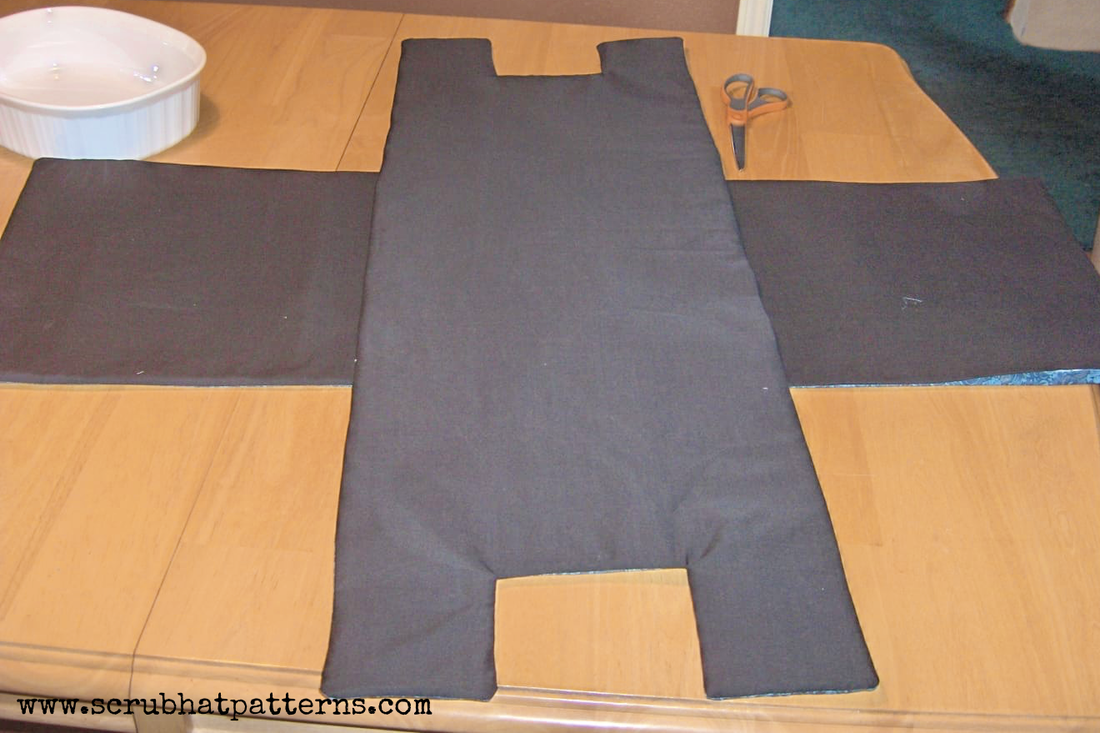
10. Now you are ready to put the two panels together to form your awesome casserole tote. Place the panel with the handles on the bottom (print-side down) and the second panel on top, across the center of the bottom one (print-side down) to form a giant plus (+) sign.
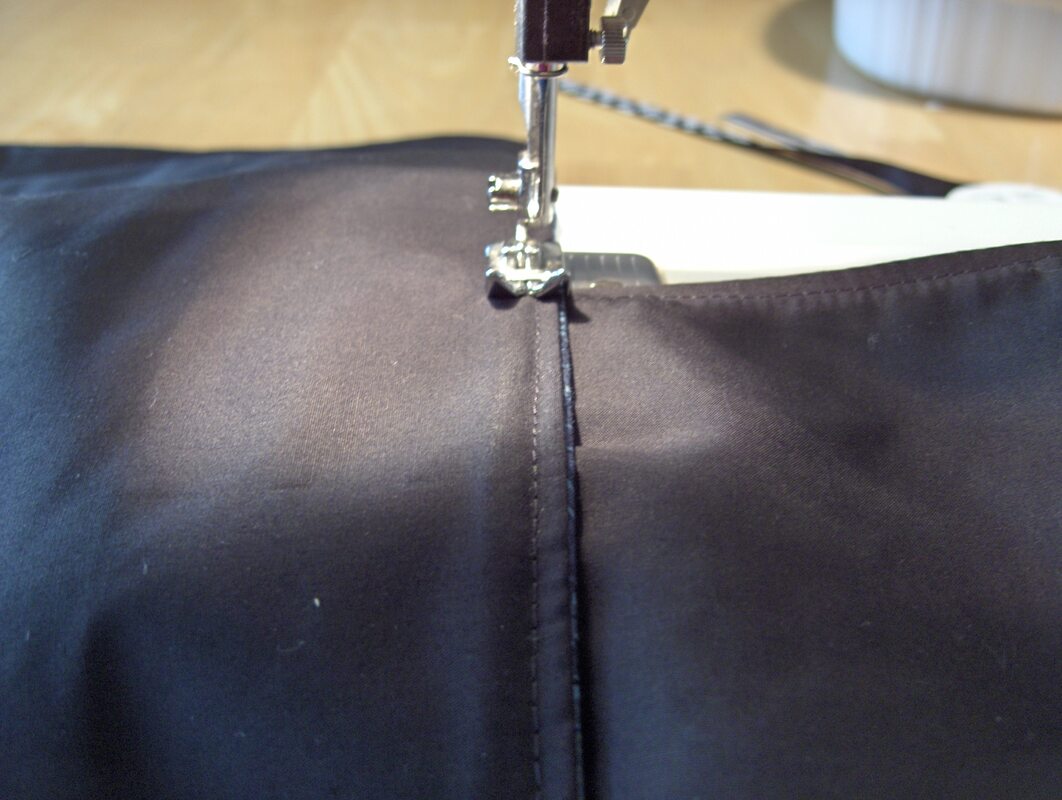
11. Using the edges of the fabric as a guide, sew the two panels together. One row of stitching was sewn on the inside panel, and one row of stitching was sewn on the outside panel. I used 1/4" seam allowance to do this.
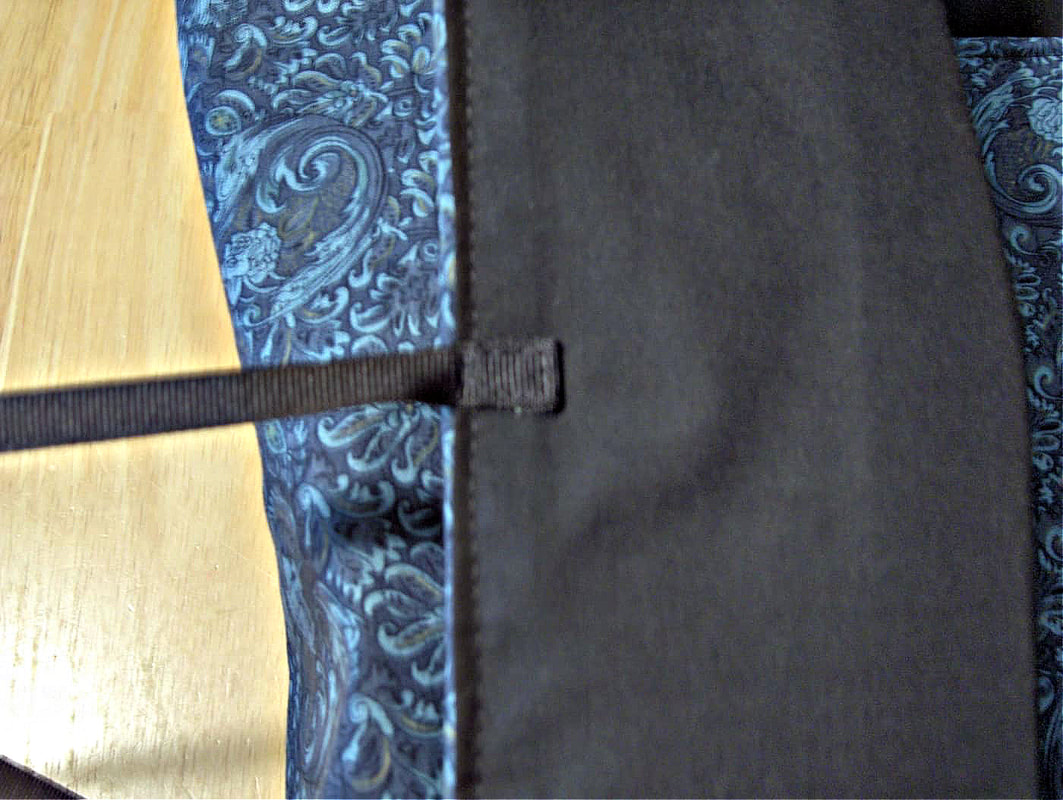
12. Take the yard of ribbon and cut it in half. Fold and edge of the ribbon under. Sew it onto the bottom center end of the panel without tabs. Then, fold the other half of the panel over to the center and sew the other ribbon onto the top of the panel right at where the fold would be.
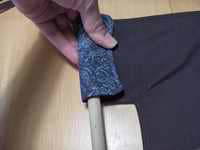
13. It's time to make the handles. Take your wooden dowel and place it on the handle tab, folding the fabric tab over the top of the dowel so it fits loosely over the dowel. This way, you can take the dowel in and out easily when you need to wash the cover.
14. Pin the fabric down and remove the dowel. Do this for all the handle tabs. Then, sew the tab starting from the top outside edge down and across, leaving the inside opening to slide the dowel in. 15. Now that you are done sewing your little dowel pocket, you can slide your dowel into it and you are finished! You can easily remove the dowel for washing your cover.
16. Wash your cover in cool water and tumble dry low. Remove it promptly and iron if needed. Never wash your casserole tote with the wooden dowel still inside.
To compliment your new casserole tote, sew up some new bowl cozies, bowl covers, and ice cream cozy to match with this five piece pattern set in my Etsy shop:
Congratulations! It is COMPLETE!
Comments are closed.
|
Angie HerbertsonSewing Hints, Tips, and Free Patterns ArchivesCategories*Disclosure: I only recommend products I would use or have used myself and all opinions expressed here are my own. These posts may contain affiliate links that at no additional cost to you, I may earn a small commission from if your purchase something. Thanks in advance
This website uses marketing and tracking technologies. Opting out of this will opt you out of all cookies, except for those needed to run the website. Note that some products may not work as well without tracking cookies. Opt Out of Cookies |


 RSS Feed
